Self-Service
This PowerLink is designed for self-service interactions — customers complete tasks independently without needing human or AI assistance.
Key Features
📸 Multiple Upload Modes
Supports file picker, gallery, camera and document-only modes
📱 Mobile-First Experience
Optimized for camera, gallery and document upload from any smartphone
📝 Configurable Prompts
Fully customizable labels and prompts
🔗 Workflow-Ready
Seamlessly connects to your workflows — the next task receives the uploaded file output
How to Install
To use this PowerLink, go to Store in your Agentix cPanel, locate the Media Upload card and click Install.
How it Looks for Customers
This is how the Media Upload interface appears to customers when launched. The layout adapts to mobile and desktop, showing only the buttons you configured.
Once the customer selects and submits a file, the task will be marked as completed and the next task in the job will automatically begin.
If the user rejects to upload, the entire job will be stopped and marked as rejected.
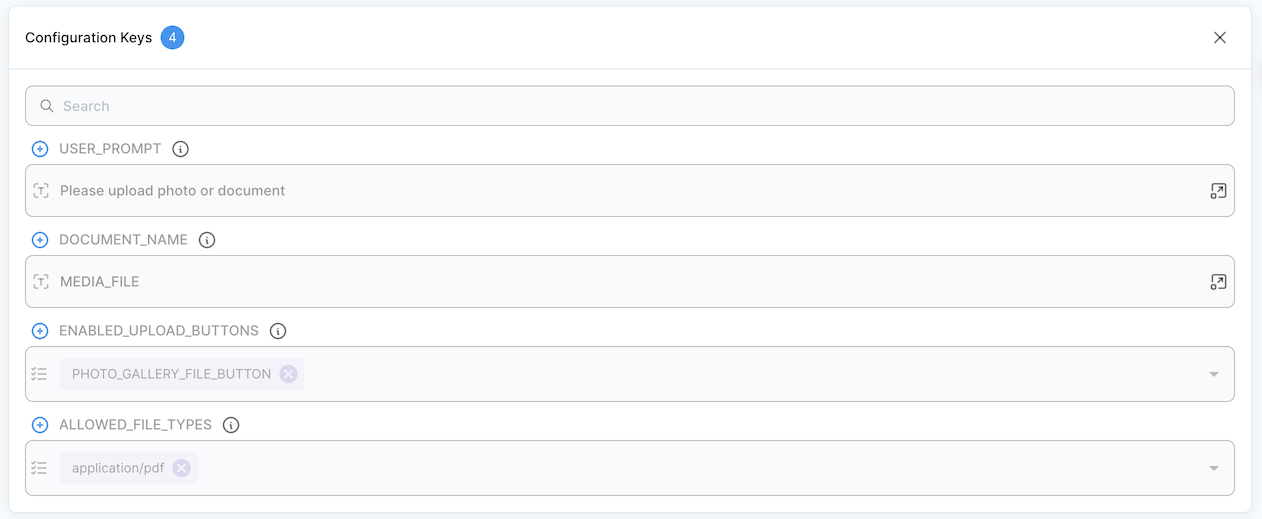
Configuration Parameters
These parameters control the behavior of the Media Upload PowerLink at the PowerLink level, such as upload buttons, allowed file types and user prompts.Use Cases
- Uploading identity documents (e.g., passport, national ID)
- Submitting signed forms or contracts
- Sending scanned receipts or invoices
- Taking a live photo for verification
- Uploading personal files or attachments in workflows
Getting Started
Create Action from Media Upload PowerLink
After installing the Media Upload PowerLink, navigate to it using Powerlinks from your cPanel side menu, select the actions tab then click Create New Action to begin configuring your Media Upload step.
Configure Upload Interface
- Select which upload buttons to display (e.g., camera, gallery, documents, selfie).
- Define allowed file types (e.g.,
application/pdf, images, etc). - Customize the user prompt to guide the customer during upload.
- Set the internal variable name (via
DOCUMENT_NAME) to reference the uploaded file in later tasks.
Attach Action to Workflow
Insert the action into your job workflow. Place it at the appropriate step where the file needs to be collected.