> ## Documentation Index
> Fetch the complete documentation index at: https://docs.agentixhub.ai/llms.txt
> Use this file to discover all available pages before exploring further.

# Outbound Dialer

> Dispatcher for automated outbound telephony calls that connect to real-time interaction steps

<div
  style={{
border: '1px solid #14b8a6',
borderRadius: '6px',
padding: '8px 12px',
fontSize: '0.85rem',
backgroundColor: 'rgba(20, 184, 166, 0.05)',
}}
>
  <div className="badge-automated">automated</div>

  <div>
    This PowerLink runs in automated mode — AI agents execute the task without human intervention.
  </div>
</div>

The Outbound Dialer PowerLink acts as an **automated dispatcher** for outbound phone calls. It manages dialing logic, enforces concurrency limits and initiates the call process. Once a call is ready to be placed, it hands over control to the **next real-time task** — typically a PowerLink involving a human or AI voice agent who interacts with the customer.

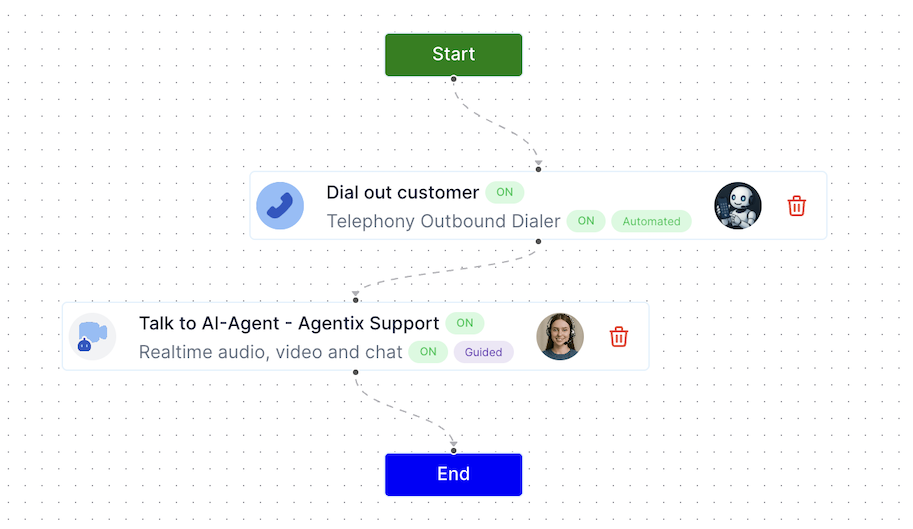
> ⚠️ This PowerLink **must be followed** by a real-time interaction step (e.g., AI agent, human agent, co-browsing) in the same workflow. It does **not handle the call conversation itself**, only the call dispatch.

It’s ideal for lead outreach, reminders or surveys — where the system needs to trigger real-time calls in a controlled and scalable way.

## Key Features
<CardGroup cols={2}>
  <Card title="📞 Outbound Call Dispatcher">
    Schedules and initiates outbound calls with queuing and concurrency control.
  </Card>

  <Card title="🔀 Workflow Bridge">
    Transfers control to the next real-time step for the actual conversation.
  </Card>

  <Card title="📋 Prompt Support">
    Optional screen prompt to show user a status while the call is being made.
  </Card>

  <Card title="📊 Scaleable Campaigns">
    Queue and manage hundreds of outbound calls across jobs using this dispatch model.
  </Card>
</CardGroup>

## How to Install

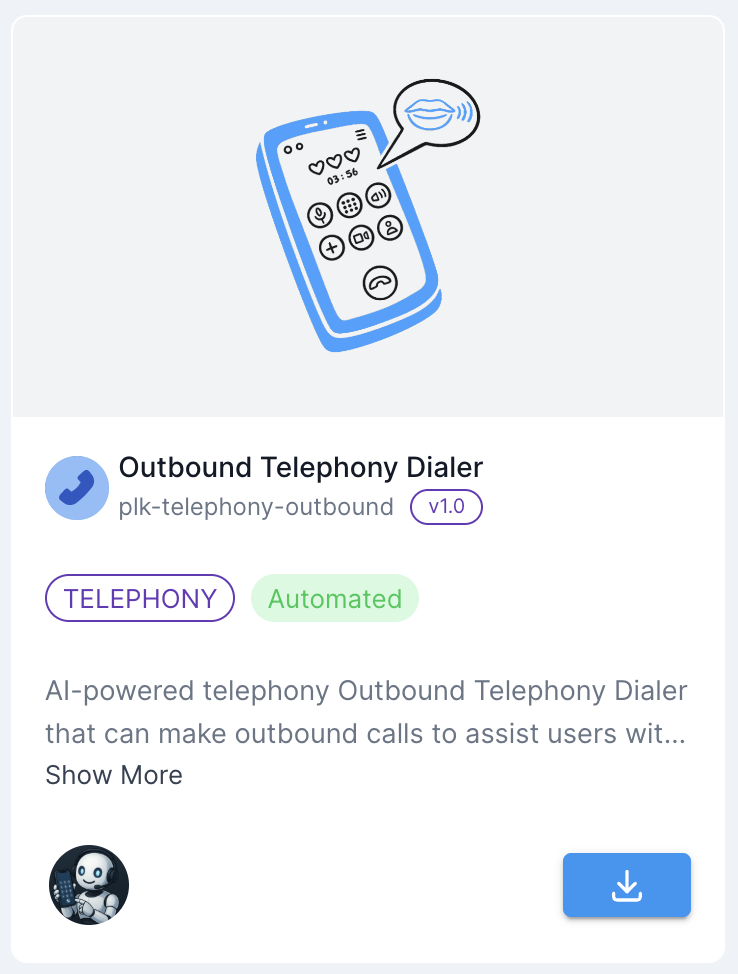
Go to the **Store** tab in Agentix cPanel, find **Outbound Dialer** and click **Install** to add it to your PowerLinks list.

<img src="https://mintcdn.com/agentix-5c0a3d87/3fWHT_5u43zyi8Am/user-guide/images/catalogue-outbound.png?fit=max&auto=format&n=3fWHT_5u43zyi8Am&q=85&s=9596518543542cbec2d46c5e54ab88cf" alt="Catalogue snapshot" className="rounded-xl my-6 shadow" width={250} data-path="user-guide/images/catalogue-outbound.png" />

## How it Works in the Background

This PowerLink operates without any user-facing interface. It runs automatically in the background to initiate the outbound call and manage its scheduling.

There is no screen shown to the customer at this stage — the call is simply placed when a slot is available and the workflow proceeds to the next real-time interaction task once the call is connected.

<Check>
  Once the outbound call is successfully placed, the job moves automatically to the real-time step for the customer interaction.
</Check>

<Note>
  If the maximum number of concurrent outbound calls is reached, this task will **wait for an available slot** and retry automatically. This ensures controlled pacing of outbound dialing.
</Note>

<Danger>
  If the system is unable to place the call — for example, due to an **invalid number**, repeated **unanswered attempts** or **all retry attempts being exhausted** — the job will be marked as **rejected** and the workflow will not proceed unless designed to handle this case.
</Danger>

## Prerequisites

This PowerLink uses the **customer’s mobile number** from the job context to place the outbound call.

<Info>
  The mobile number used for dialing is retrieved from the **customer record** at the time the job is created (e.g., <code>customer.mobile</code>). Ensure the customer profile includes a valid phone number.
</Info>

<Danger>
  If the customer’s mobile number is missing or invalid, the task will be **automatically rejected** and the workflow will not proceed unless explicitly designed to handle this failure.
</Danger>

## Configuration Parameters

These parameters control the behavior of the Outbound Dialer PowerLink at the **PowerLink level**.

<Expandable title="Configuration Parameters">
  <ParamField path="USER_PROMPT" type="TEXT" default="Hang tight! We're placing a call for you now... You’ll be redirected shortly.">
    Optional message shown to the user while the system dials and connects to the next step.
  </ParamField>
</Expandable>

## Use Cases

* AI outbound calling campaigns
* Human agent callbacks
* Appointment confirmation calls
* Voice-based surveys or feedback collection

## Getting Started

<Steps>
  <Step title="Create Action from Outbound Dialer PowerLink">
    After installing the PowerLink, go to **PowerLinks** in your cPanel, select **Actions** and click **Create New Action**.
  </Step>

  <Step title="Configure Prompt Message">
    Customize the optional `USER_PROMPT` that appears while the system is placing the call.
  </Step>

  <Step title="Attach Realtime PowerLink After It">
    In your workflow, this action must be **immediately followed** by a real-time interaction PowerLink — such as AI Voice Agent, Human Agent Panel or Co-Browsing session.

    <img src="https://mintcdn.com/agentix-5c0a3d87/3fWHT_5u43zyi8Am/user-guide/images/outbound-workflow.png?fit=max&auto=format&n=3fWHT_5u43zyi8Am&q=85&s=cbebde8197b429c821ffc16e2193e8a9" alt="Outbound Workflow" className="rounded-lg" width="913" height="529" data-path="user-guide/images/outbound-workflow.png" />
  </Step>

  <Step title="Test the Call Flow">
    Use **LaunchPad Runner** to simulate a complete job flow. Confirm the dialer dispatches the call and the next real-time task begins as expected.
  </Step>
</Steps>