> ## Documentation Index
> Fetch the complete documentation index at: https://docs.agentixhub.ai/llms.txt
> Use this file to discover all available pages before exploring further.

# Media Upload

> Enable customers to upload images or documents via a customizable upload interface

<div
  style={{
border: '1px solid #f59e0b',
borderRadius: '6px',
padding: '8px 12px',
fontSize: '0.85rem',
backgroundColor: 'rgba(245, 158, 11, 0.05)',
}}
>
  <div className="badge-self-service">Self-Service</div>

  <div>
    This PowerLink is designed for self-service interactions — customers complete tasks independently without needing human or AI assistance.
  </div>
</div>

The Media Upload PowerLink provides a simple interface for customers to upload documents or images. This PowerLink can be used in workflows where the user is expected to submit a file, such as ID documents, signed paper or photos — it is purely a file submission interface configurable with multiple button types.

## Key Features
<CardGroup cols={2}>
  <Card title="📸 Multiple Upload Modes">
    Supports file picker, gallery, camera and document-only modes
  </Card>

  <Card title="📱 Mobile-First Experience">
    Optimized for camera, gallery and document upload from any smartphone
  </Card>

  <Card title="📝 Configurable Prompts">
    Fully customizable labels and prompts
  </Card>

  <Card title="🔗 Workflow-Ready">
    Seamlessly connects to your workflows — the next task receives the uploaded file output
  </Card>
</CardGroup>

## How to Install

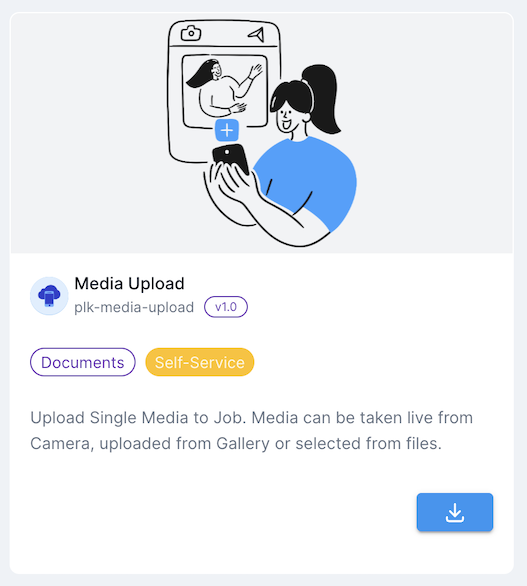
To use this PowerLink, go to **Store** in your Agentix cPanel, locate the **Media Upload** card and click **Install**.

<img src="https://mintcdn.com/agentix-5c0a3d87/3fWHT_5u43zyi8Am/user-guide/images/catalogue-media-upload.png?fit=max&auto=format&n=3fWHT_5u43zyi8Am&q=85&s=7e6671832cdf9f692f53aebc92b7ddcf" alt="Catalogue snapshot" className="rounded-xl my-6 shadow" width={250} data-path="user-guide/images/catalogue-media-upload.png" />

## How it Looks for Customers

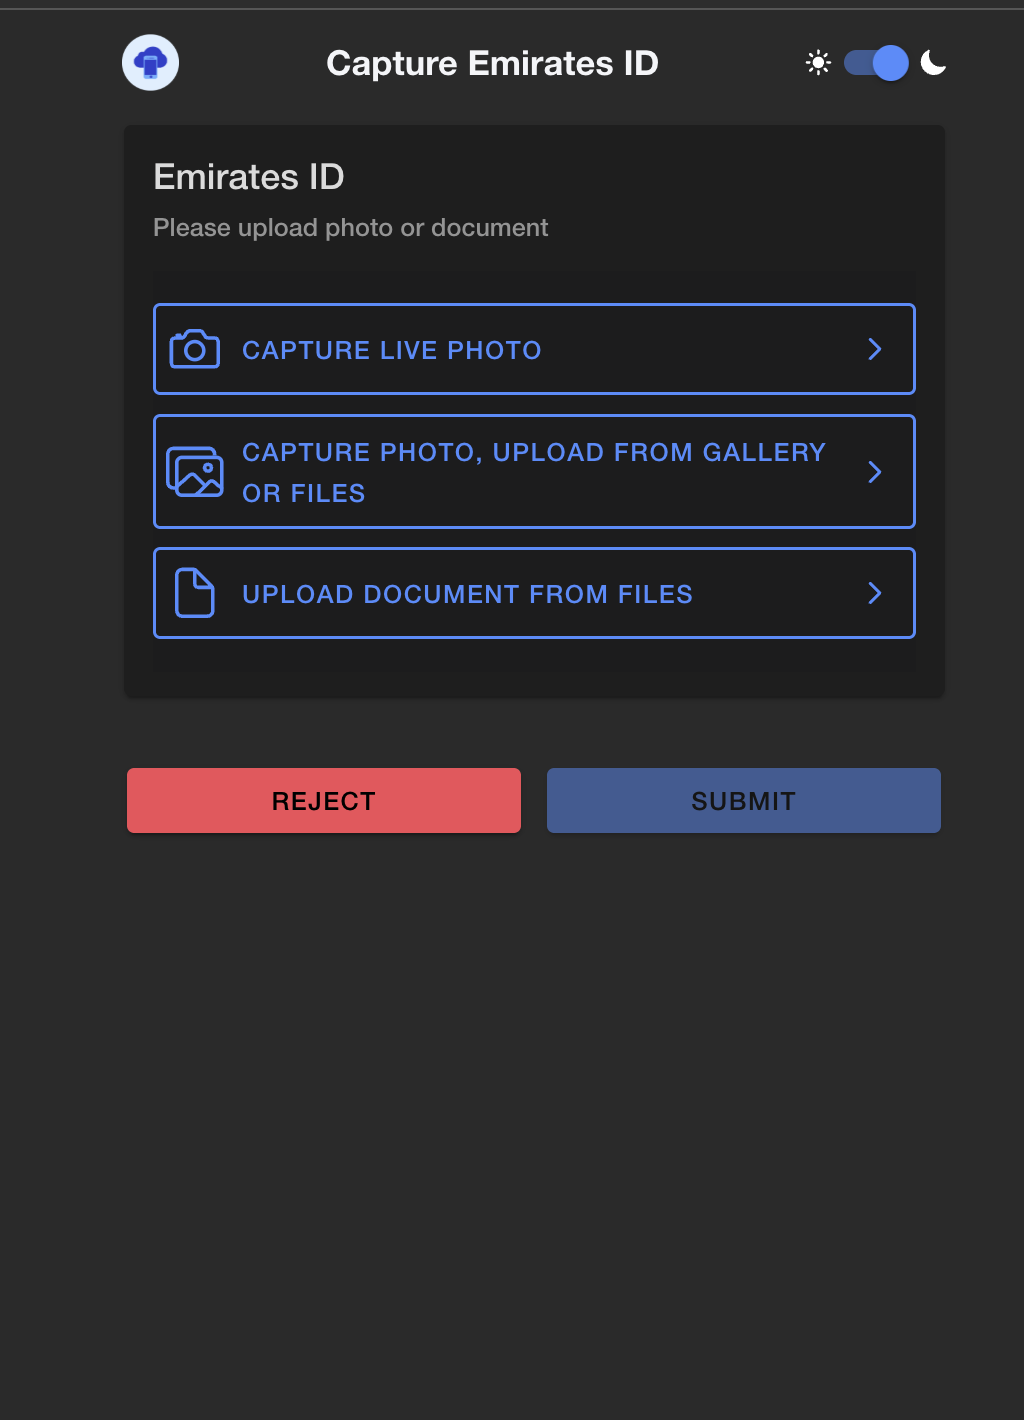
This is how the Media Upload interface appears to customers when launched. The layout adapts to mobile and desktop, showing only the buttons you configured.
<img src="https://mintcdn.com/agentix-5c0a3d87/3fWHT_5u43zyi8Am/user-guide/images/plk-media-upload.png?fit=max&auto=format&n=3fWHT_5u43zyi8Am&q=85&s=8322ed466ea4aeb1773299292af4cba0" alt="Customer view of Media Upload" width="300" className="rounded-xl my-6 shadow" data-path="user-guide/images/plk-media-upload.png" />

<Check>
  Once the customer selects and submits a file, the task will be marked as completed and the next task in the job will automatically begin.
</Check>

<Danger>
  If the user rejects to upload, the entire job will be stopped and marked as rejected.
</Danger>

## Configuration Parameters

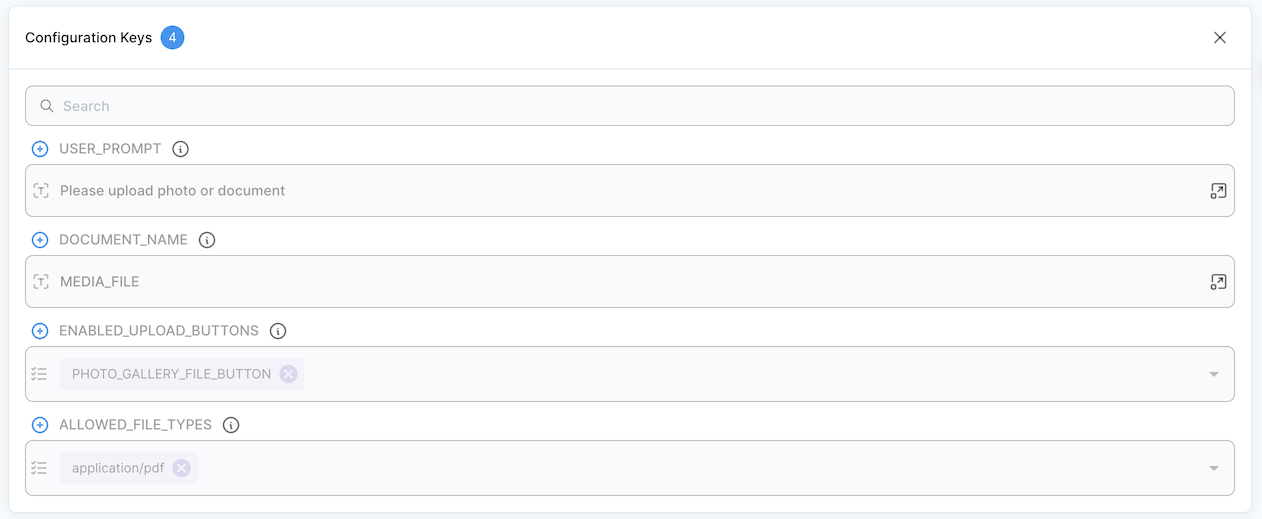
These parameters control the behavior of the Media Upload PowerLink at the **PowerLink level**, such as upload buttons, allowed file types and user prompts.

<Expandable title="Configuration Parameters">
  <ParamField path="USER_PROMPT" type="TEXT" default="Please upload photo or document">
    Prompt shown to the user when asking to upload a document or image.
  </ParamField>

  <ParamField path="DOCUMENT_NAME" type="TEXT" default="MEDIA_FILE">
    Internal variable name used to reference the uploaded file in the output.
  </ParamField>

  <ParamField path="ENABLED_UPLOAD_BUTTONS" type="MULTI" default="PHOTO_GALLERY_FILE_BUTTON">
    Controls which upload buttons are shown on the interface. You can enable one or more of the following options:
  </ParamField>

  | Button Options              | Description                                                                             |
  | --------------------------- | --------------------------------------------------------------------------------------- |
  | `PHOTO_GALLERY_FILE_BUTTON` | Allows the customer to select a file or image from their device gallery or file system. |
  | `LIVE_CAMERA_PHOTO_BUTTON`  | Enables capturing a photo directly using the device’s back camera.                      |
  | `DOCUMENT_ONLY_BUTTON`      | Restricts uploads to documents only (e.g., PDF, DOC), hiding image/photo options.       |
  | `LIVE_SELFIE_FACE_BUTTON`   | Opens the front camera for taking a selfie — useful for identity verification.          |

  <ParamField path="ALLOWED_FILE_TYPES" type="MULTI" default="application/pdf">
    Allowed MIME types for file uploads. Supports:
    `application/pdf`, `image/jpeg`, `image/png` and others.
  </ParamField>
</Expandable>

## Use Cases

* Uploading identity documents (e.g., passport, national ID)
* Submitting signed forms or contracts
* Sending scanned receipts or invoices
* Taking a live photo for verification
* Uploading personal files or attachments in workflows

## Getting Started

<Steps>
  <Step title="Create Action from Media Upload PowerLink">
    After installing the Media Upload PowerLink, navigate to it using **Powerlinks** from your cPanel side menu, select the actions tab then click **Create New Action** to begin configuring your Media Upload step.
  </Step>

  <Step title="Configure Upload Interface">
    * Select which upload buttons to display (e.g., camera, gallery, documents, selfie).
    * Define allowed file types (e.g., `application/pdf`, images, etc).
    * Customize the user prompt to guide the customer during upload.
    * Set the internal variable name (via `DOCUMENT_NAME`) to reference the uploaded file in later tasks.

    <img src="https://mintcdn.com/agentix-5c0a3d87/3fWHT_5u43zyi8Am/user-guide/images/media-upload-config.png?fit=max&auto=format&n=3fWHT_5u43zyi8Am&q=85&s=a823c9126f4b52657bdc0bc3231df306" alt="Media Upload Configuration" className="rounded-xl my-6 shadow" width="1262" height="519" data-path="user-guide/images/media-upload-config.png" />
  </Step>

  <Step title="Attach Action to Workflow">
    Insert the action into your job workflow. Place it at the appropriate step where the file needs to be collected.
  </Step>

  <Step title="Test in LaunchPad Runner">
    Use the **LaunchPad Runner** to simulate the job. Try uploading different file types and confirm that the next task receives the uploaded media correctly.
  </Step>
</Steps>